Student VISA

How to Fill the DS-160 Form for F-1 Visa: Step-by-Step Guide

Author_Image
Yocket Editorial Team
6 mins
200.6k views
Summarise with AI

The DS-160 form is the mandatory online application that every F-1 student visa applicant must complete before booking a US visa interview.

It collects your personal, academic, and travel details and is submitted directly to the US Department of State. Without a completed DS-160, you cannot proceed with your visa application.

In this guide, you will learn how to fill out the DS-160 form step by step, the documents required, and common mistakes to avoid. You will also find a sample confirmation page and tips specifically for Indian students applying for an F-1 visa.

star icon Key Highlights

How to Fill Out the DS-160 Form?

Filling out the DS-160 form online can be time-consuming, but not a tedious process. You should be up to date with all of your information and be truthful on the DS-160. Always remember to save your progress while on the DS-160 form, so your progress is already saved when the session times out.

Here is the step-by-step process to fill out the DS-160 form online:

Step 1: Visit the CEAC Website

Visit the Consular Electronic Application Center website (CEAC) to start your DS-160 form application.

Step 2: Start a New Application

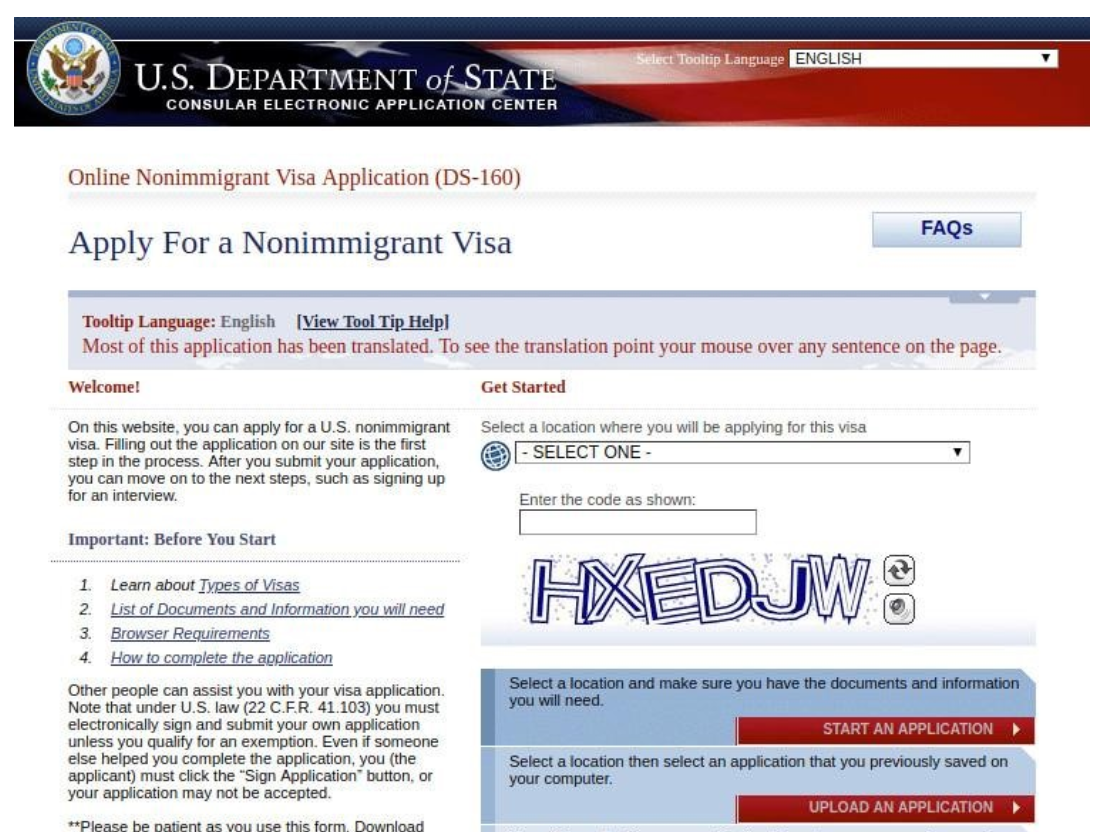
Once you’re on the CEAC page, select the location where you plan to attend your visa interview and enter the CAPTCHA code.

Click on 'Start an Application' to begin a new DS-160 form. If you have already started earlier, you can select 'Retrieve an Application' using your Application ID.

Step 3: Save Application ID & Security Question

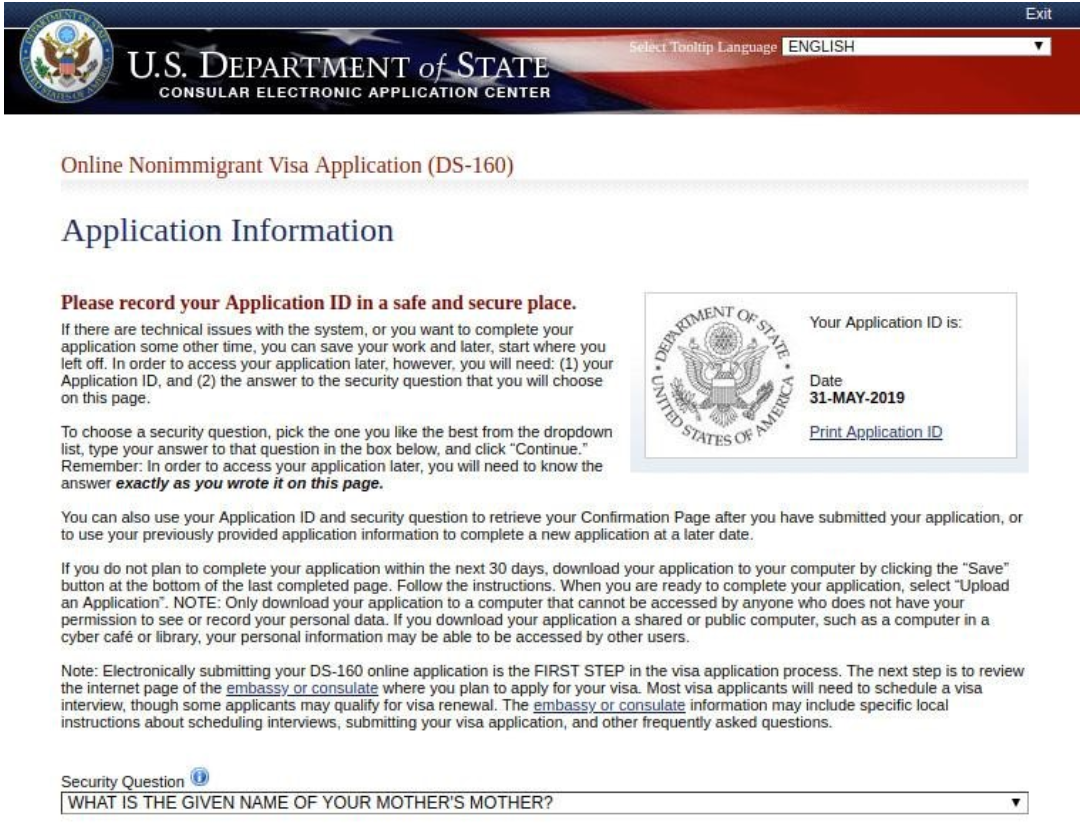
An Application ID will appear in the top right corner of the screen once you begin your application.

  • Make sure to save this ID (take a screenshot or note it down).
  • Choose a security question and remember your answer carefully.

You will need both the Application ID and security answer to retrieve your form if your session expires or if you want to continue later.

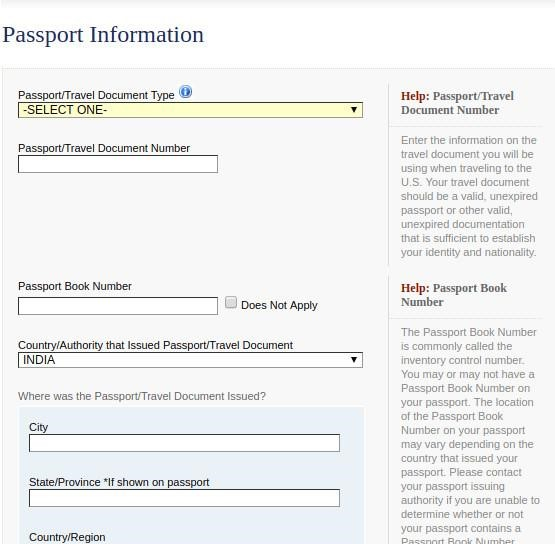
Step 4: Fill Personal & Passport Details

In this section, you’ll enter your basic personal and passport information across the first few pages of the form.

Make sure all details match your passport exactly:

  • Full name (as per passport, no spelling changes)
  • Name in native alphabet (if applicable)
  • Any previous names used
  • Date and place of birth
  • Nationality and dual nationality (if any)
  • Passport number
  • Place of issue
  • Issue and expiry dates

Important points to note:

  • Select passport type as Regular (for most students)
  • If asked about 'Telecode,' select No (for most Indian applicants)

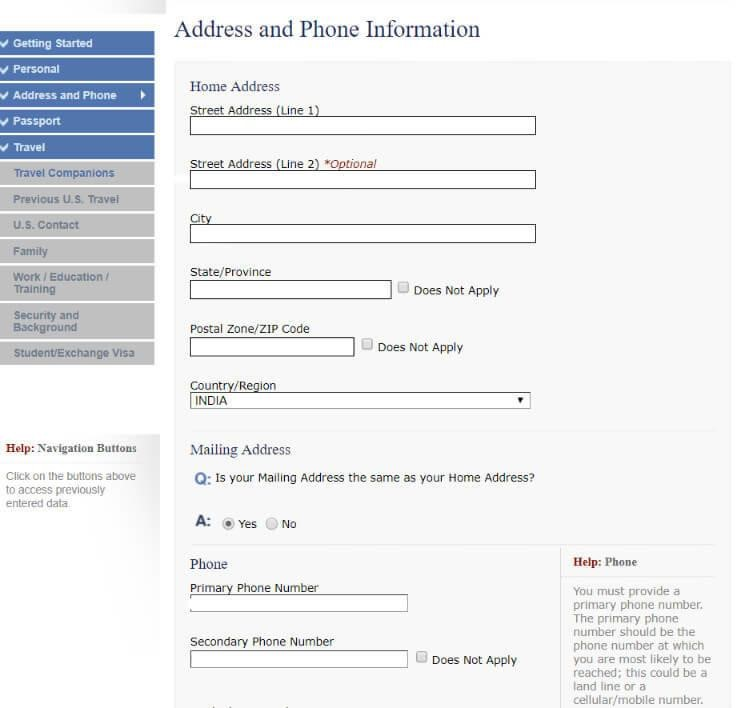
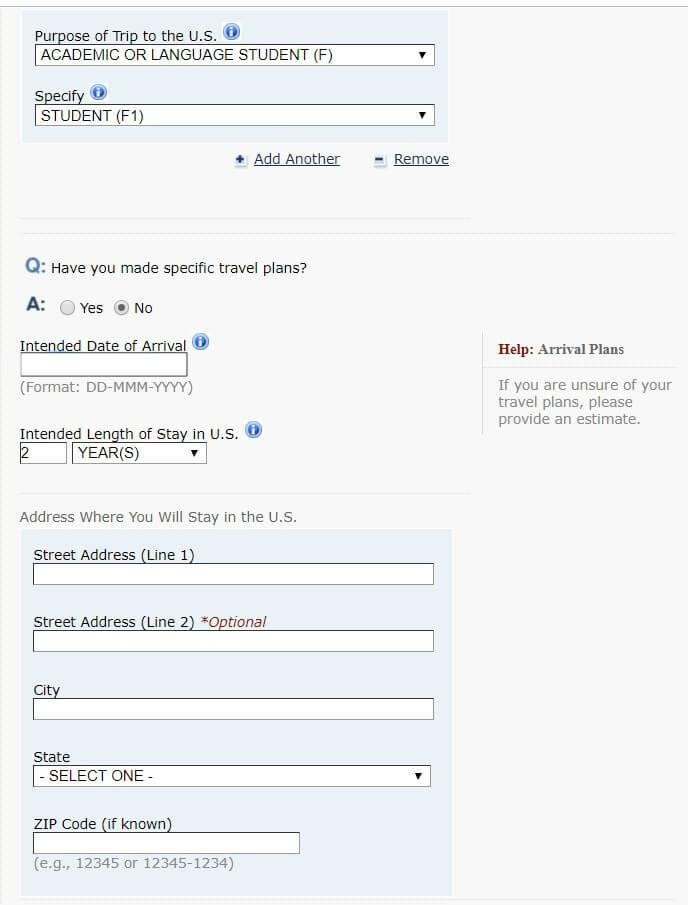
Step 5: Enter Travel & US Contact Details

In this section, you’ll provide your travel plans and details about your stay in the United States. This is especially important for F1 visa applicants.

Here’s how to fill it correctly:

  • Visa type: Select F-1 (Student)
  • Purpose of travel: Study
  • Intended date of arrival: Use the start date mentioned on your Form I-20 (or a few days before orientation)
  • Length of stay: Based on your course duration

Describe any previous US travels.

For your stay details: If you haven’t finalised accommodation, you can enter your university’s address (from I-20)

For the US point of contact:

  • Enter your university’s international office or a designated school official.
  • Use the contact details provided on your I-20 or university website.

Step 6: Fill Family, Education & Work Information

In this section, you’ll need to provide details about your family background, education, and work history.

Fill in the following information carefully:

  • Family details: Enter your parents’ names, dates of birth, and basic details. This is required even if they are not sponsoring your education.
  • Education history: List all your post-secondary education, including colleges or universities attended, course names, and dates.
  • Work experience (if applicable): Provide details of your current or previous employment, including job title, employer name, and duration.

(You can also be asked about: Languages you speak and countries you have visited in the past 5 years)

Step 7: Review & Submit Your DS-160 Form 

Once you’ve completed all sections of the DS-160 form, carefully review your entire application.

After reviewing:

  • Electronically sign your application
  • Submit the DS-160 form online

Once submitted:

  • You will receive a confirmation page with a barcode
  • Download and print this confirmation page

This confirmation page is mandatory for your visa biometric appointment and interview.

DS-160 Form Sample

Here is a sample of the DS-160 confirmation page to help you understand what it looks like. This page confirms that you have successfully submitted your US non-immigrant visa application and is required at the time of your visa appointment.

Documents Required for DS-160 Form Filling

Before you begin filling out the DS-160 form, make sure you have all the required documents and details with you, like personal, academic, travel, and background information. It is extremely important to stay accurate with your official records.

Here’s a list of documents and information you’ll need while filling out the DS-160 form for an F1 visa:

  • Valid Passport: Your passport must be valid for at least six months beyond your intended stay in the US. Keep your passport number, issue/expiry dates, and place of issuance ready.
  • Form I-20: This form contains your SEVIS ID, university address, and programme details issued by your US university. You’ll enter these exactly as mentioned in the form.
  • SEVIS Fee Payment Receipt (I-901): This is proof that you’ve paid the SEVIS fee (USD 350 or INR 29,300 approx.). You’ll be asked to provide the confirmation number during the DS-160 process.
  • MRV Fee Receipt: Keep the receipt of your visa application fee payment (USD 185 or INR 15,500 approx). This is needed later when scheduling your visa interview.
  • Photograph: The photo must meet US visa specifications. It should be a recent one, colour (not black and white), white background, 2x2 inches in size. You may be required to upload it digitally in the form.
  • Travel Itinerary (if booked): If you’ve already made travel plans, keep flight details ready. If not, you can skip this section or enter tentative travel dates.
  • Academic History: Names and addresses of all schools, colleges, and universities you’ve attended. Include start and end dates, qualifications earned, and major subjects.
  • Work Experience (if applicable): If you’ve worked previously, note down job titles, employer names, locations, and dates of employment.
  • Family Details: You’ll need names, dates of birth, and the nationality of your parents. Even if they don’t live with you or are deceased.
  • Social Media Details: You may be asked to provide your usernames or handles for platforms used in the last five years (like Instagram, LinkedIn, Twitter). Passwords are not required.
  • US Contact Information: This includes a US-based contact person or the international office of your university (mentioned on your I-20). You'll also need to provide their relationship to you.
Explore Destinations
Explore All Guides

Mistakes to Avoid When Filing the DS-160 Form

You must fill out the DS-160 form correctly to avoid delays or visa rejection. Even small mistakes like wrong dates or missing details can cause serious problems.

Below are common mistakes you should avoid when filing the DS-160 form:

  • Use the Same Information Everywhere: Make sure your name, date of birth, and other details match across all documents, passport, I-20, financial proof, and DS-160 form. Even one spelling change can cause problems.
  • Be Careful with Travel Details: Write the right travel date (based on your I-20 start date). For your U.S. address, use your university’s address if you haven’t booked housing yet.
  • Choose the Correct Visa Type: If you're a full-time student, select F-1 as your visa type. Don’t pick a tourist (B-2) or an exchange visitor (J-1) by mistake.
  • Double-Check Passport Info: Your passport number, issue date, and expiry date must be 100% correct. A small typing mistake can cause issues during your interview.
  • Answer Security Questions Seriously: Give honest and clear answers in the security and background section. Don’t make jokes or guess. Treat this very part seriously.
  • Save Your Application ID: When you start the form, you get an Application ID. Save it in your phone or email. You’ll need it if the session times out.
  • Upload the Right Photo: Your photo must be in colour, recent, and taken with a white background. It should be 2x2 inches in size. If it doesn’t follow these rules, the system may reject it.
  • Review Before You Submit: Once you submit the form, you cannot edit it. Read every section carefully before clicking ‘submit’.
  • Don’t forget the Confirmation Page: After submitting, you’ll get a confirmation page with a barcode. Print it and bring it to your visa interview. You won’t be allowed in without it.

From the Desk of Yocket

The process of filling out DS-160 is easy, provided you have all the relevant information. We would suggest you only fill in honest information, which creates no hassle in your US student visa application process. 

If you are ambitious to start your study abroad journey, you are in the right place! With Yocket Premium, you not only get your profile built by our top-of-the-field counsellors, but you also get guidance for making a strong application that will get you the admission you are looking for.

Frequently Asked Questions on How to Fill DS-160 FormĀ 

How to fill out the DS-160 form for an F-1 visa?

Is the DS-160 form mandatory for an F-1 visa?

What mistakes should I avoid while filling DS-160?

How much is the DS-160 fee for an F-1 visa?

Can I fill out the DS-160 form without paying the SEVIS fee?

More Topics

Articles you might like

Check your Eligibility at 2000+ Universities